This is fun, taking a closer look at things close to home. Yesterday I did my third location, all are listed at Instagram or my FB page. For this sketch i used some techniques that workshop alumni will find a bit different. On top of that I used gouache paint instead of watercolor, the more I use it the more I like it, even though it is taking a major rethink. So here is the sketch, step by step.
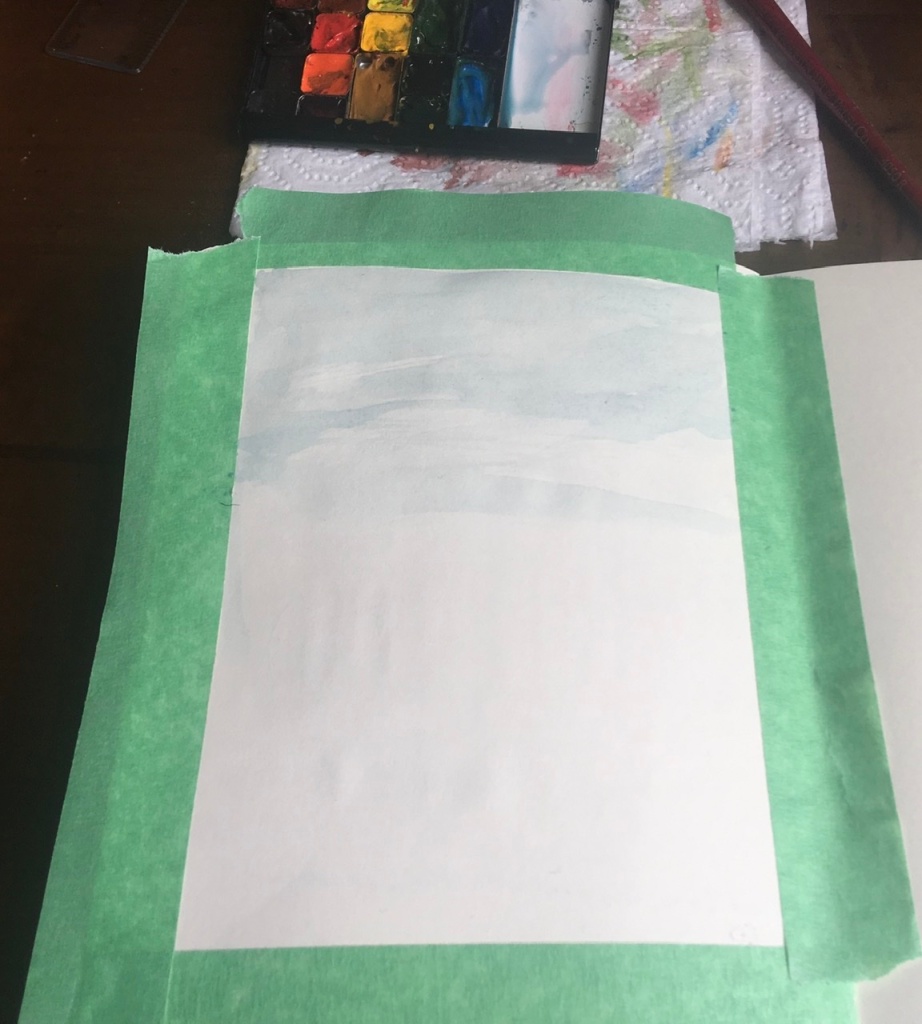
I began by using artist tape, peels without tearing (most of the time), to make a block in my Moleskine 5”x8” artist sketchbook. You will see the neat result in the finished painting. The paper in this is heavy, but technically not designed for watercolor, so the pages buckle a bit, that irritates some, but for me it shows the sketchbook is well loved.
Next I did a light wash for the sky area using a grayed Cerulean Blue. I did not have to be too concerned about the outline of the building against the sky as gouache is opaque so will cover over the watercolor. I find thay watercolor is easier for this type of sky wash.

Often when doing a building it is a good idea to do a pencil sketch to get the shapes correct, so I got out my tools. Yes, it is OK to use a ruler, Stephanie Bower recommends it in her book. What about that black and orange thing? Anyone know what it is? I plan to do a blog showing what and how in the near future.
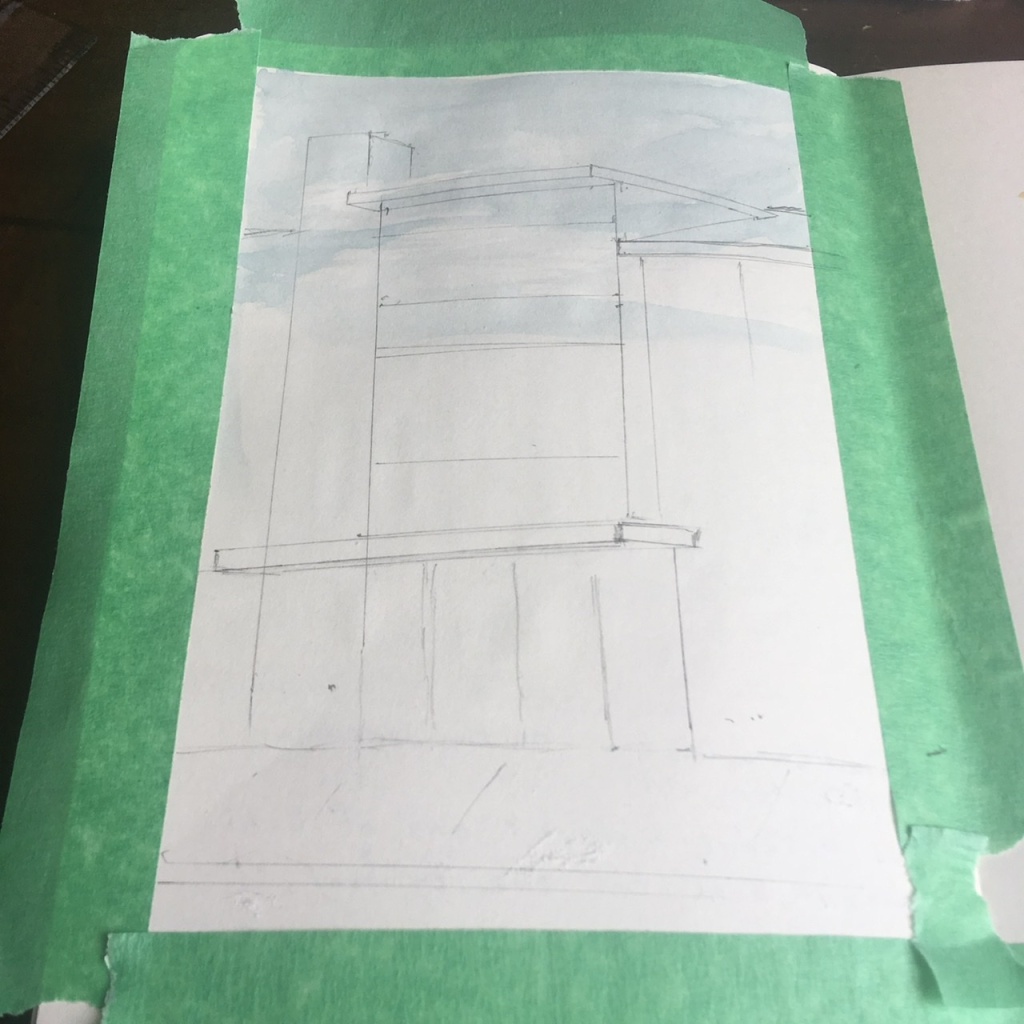
Here is what it looked like when the pencil work was done – notice that it is the major shapes and angles, not the small details. In the finished piece there is a tree in front of the building, I left that out. If I was doing this in watercolor i would have sketched the tree in most likely, but with gouache the building was all I needed, knowing I could paint the tree in over the top; trees can be a bit more forgiving in how they come out.
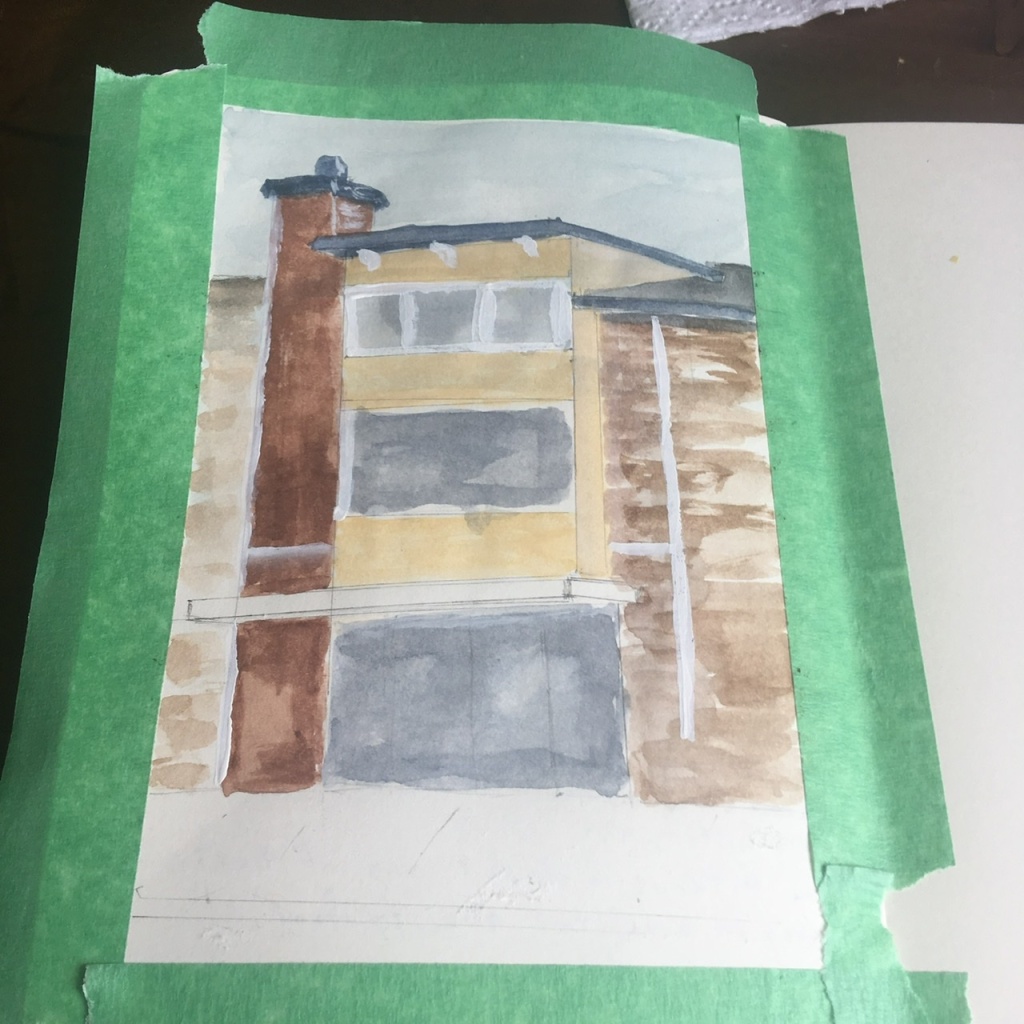
Here is about half way through with the gouache paint. Using gouache is a bit more like acrylic or oil in that you often work from dark to light, the opposite of watercolor. At this point the windows have been painted dark, I will paint the white molding over them, one of the benefits of gouache. Many watercolor sketchers use a tube of white gouache with their watercolors to highlight at the end.

Here I have started using the white paint to build the windows and door frame.

The finished piece. Added a tree in the front, used a white gel pen for the lettering, highlighted and shaded a bit with a Micron pen.
My plan is to use gouache more, and hopefully get a bit better at it. It flows quite differently, easier in some way, harder in others. One attraction is that it has similarities with how I paint with acrylics. So I will do another today and see how it goes.
As always keep on traveling and sketching, even if it only in your neighborhood,

This is great and so lovely to see a work in progress. Fabulous! Katie
LikeLike
Thanks. BTW i know there were some typos, they have been corrected. Program froze, argh.
LikeLiked by 1 person
You are sweet … I hadn’t even noticed! Nightmare when the system freezes!
LikeLiked by 1 person
Really enjoyed seeing how you “think” and then “do” your painting. Wonderful!
LikeLiked by 1 person
Thanks
LikeLiked by 1 person
Thanks Terry, always learn something new.
The tape on the edges are a great finish!
I found a piece of work on instagram that
the artist used gauche. So many different options!!!
Maybe someday I’ll branch out.
Always appreciate your investment in the wonderful
world of travel and sketching!
I spy a proportional divider, another great help you
have added to our kit!
LikeLiked by 1 person
Proportional divider it is. Blog coming soon on how to use it.
LikeLike
The orange and black tool is reminiscent of drafting tools I used. For some tools it was a way of replicating an exact measurement but that was just two points. So this tool makes me think it is a way of keeping a perspective consistent since the far end seems to be closer together. I have no idea what the tool is called though. But that is my guess.
LikeLiked by 1 person
It’s is a proportional divider
LikeLike