Last week I showed an easy way to make a greeting card, I hope you give it a try. As promised, here is another card, almost as easy. I think most folks can do this one – just follow the steps.
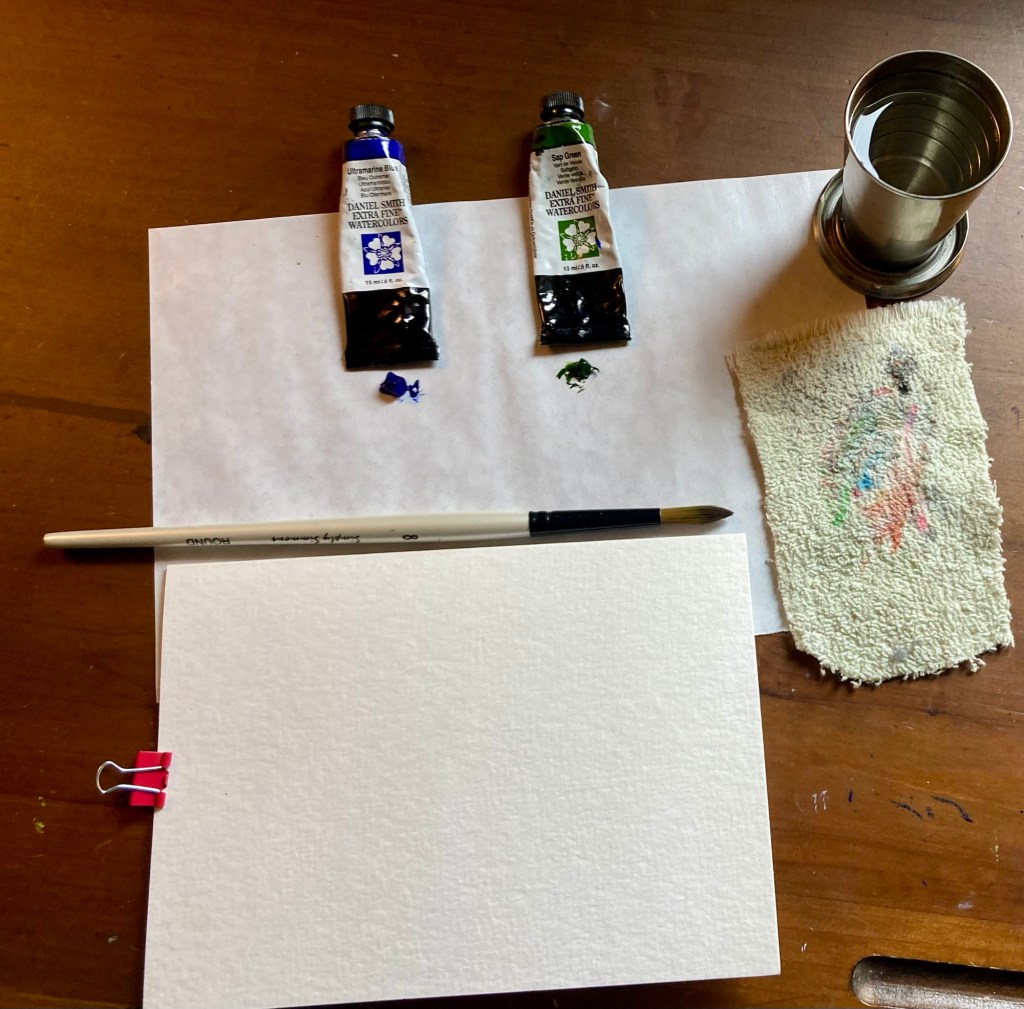
Here is the set up. Watercolors in Ultramarine blue and Sap green, a medium brush or water-brush. The blank cardstock and envelopes are available from any art or craft store.
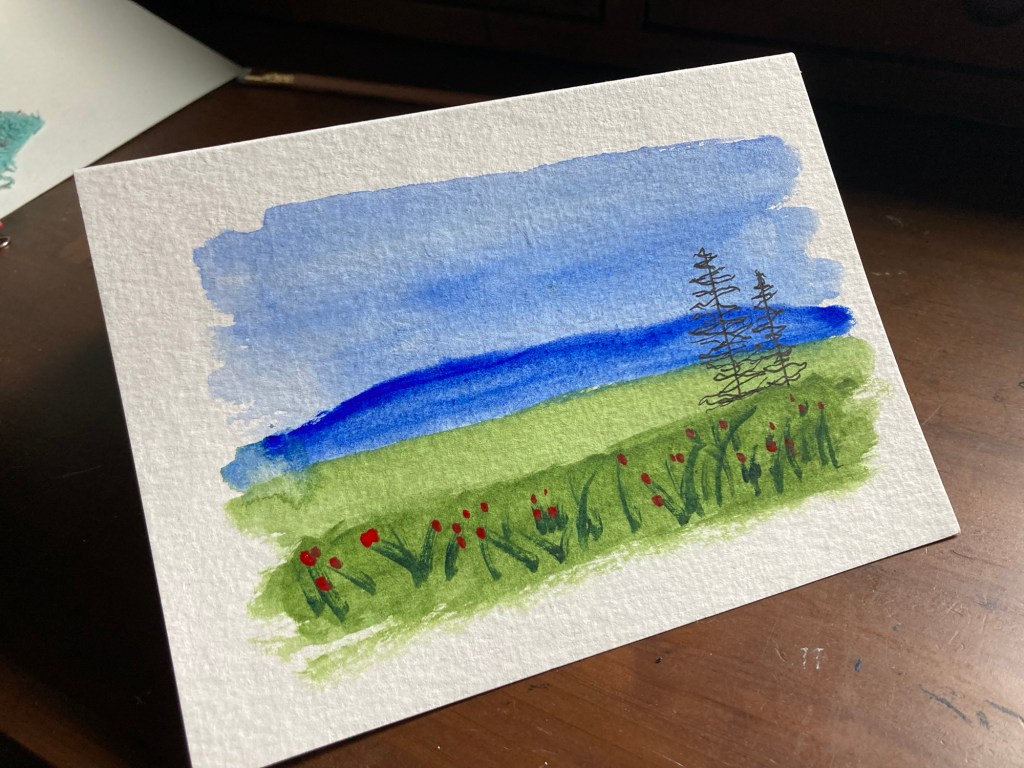
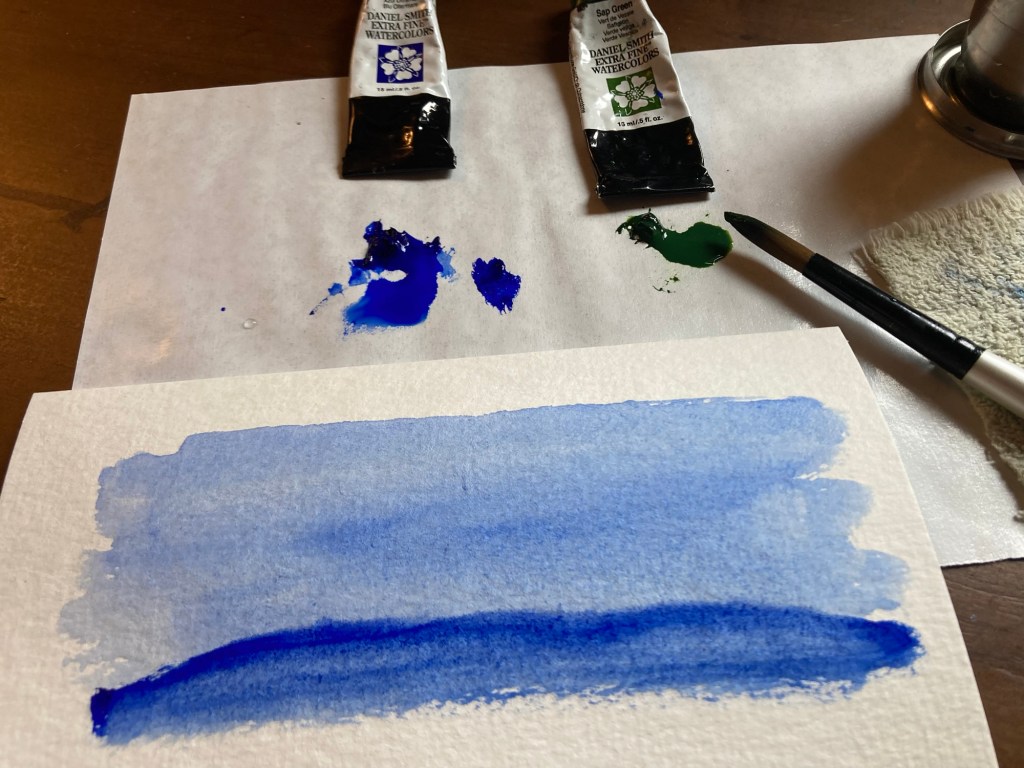
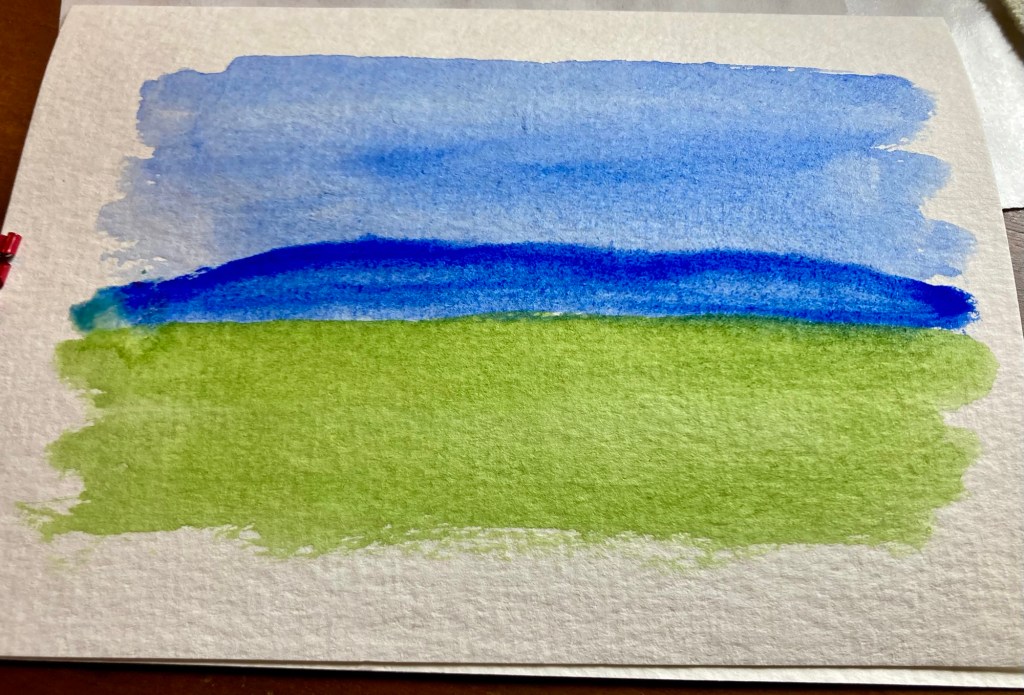
First I did a wash with the blue that was lightend by using a bit of water, I went about half-way down, leaving a margin on the top and the sides. Then I used more of the same blue, just not quite as thinned, to paint some distant hills by painting over the lower part of the blue sky. It is OK if it runs together a bit.
Squeeze out just a little of the green paint and add a touch of water. Then starting at the lower edge of the blue, paint down another third or so of the card. It helps if you give the blue a couple of minutes to dry a bit so the green does not blend in so much with the blue, but it is not all that bad if it does.
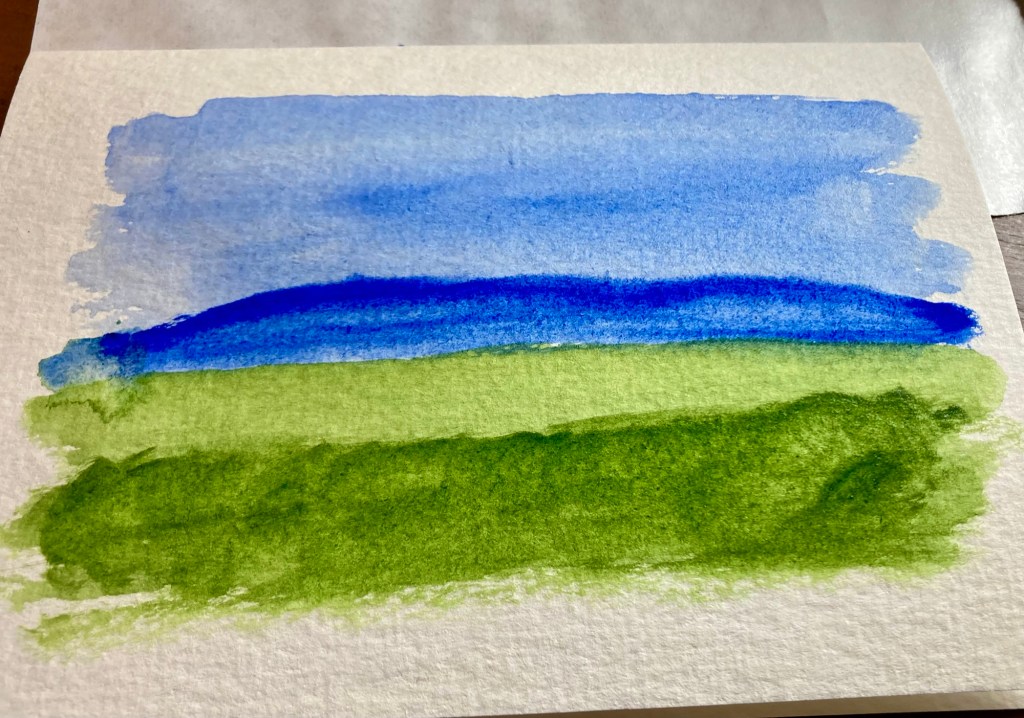
After the light green dries a bit use the sap green at closer to full strength or even add a tiny bit of the blue to darken it. You are now painting some growth, think of a hedge or mass of flowers, in the forefront. Note how just the darker band in the front begins to add distance to the hills.
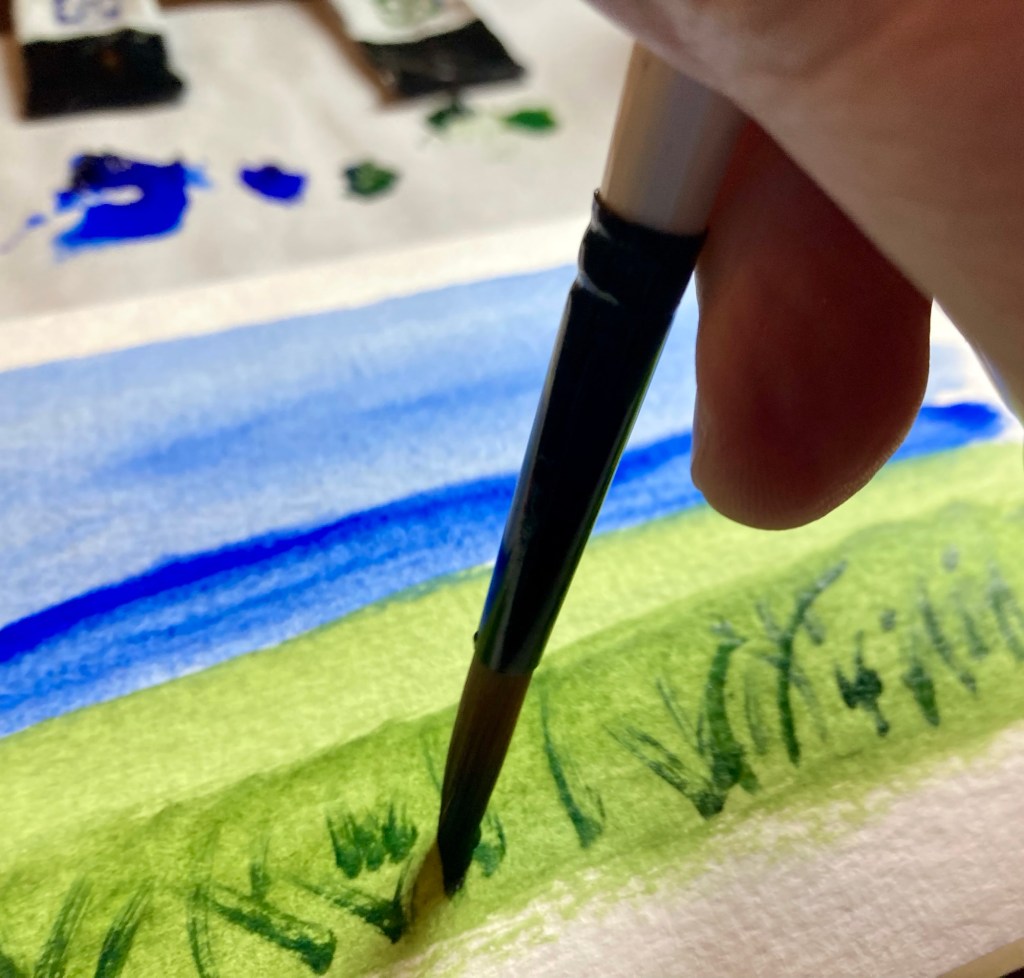
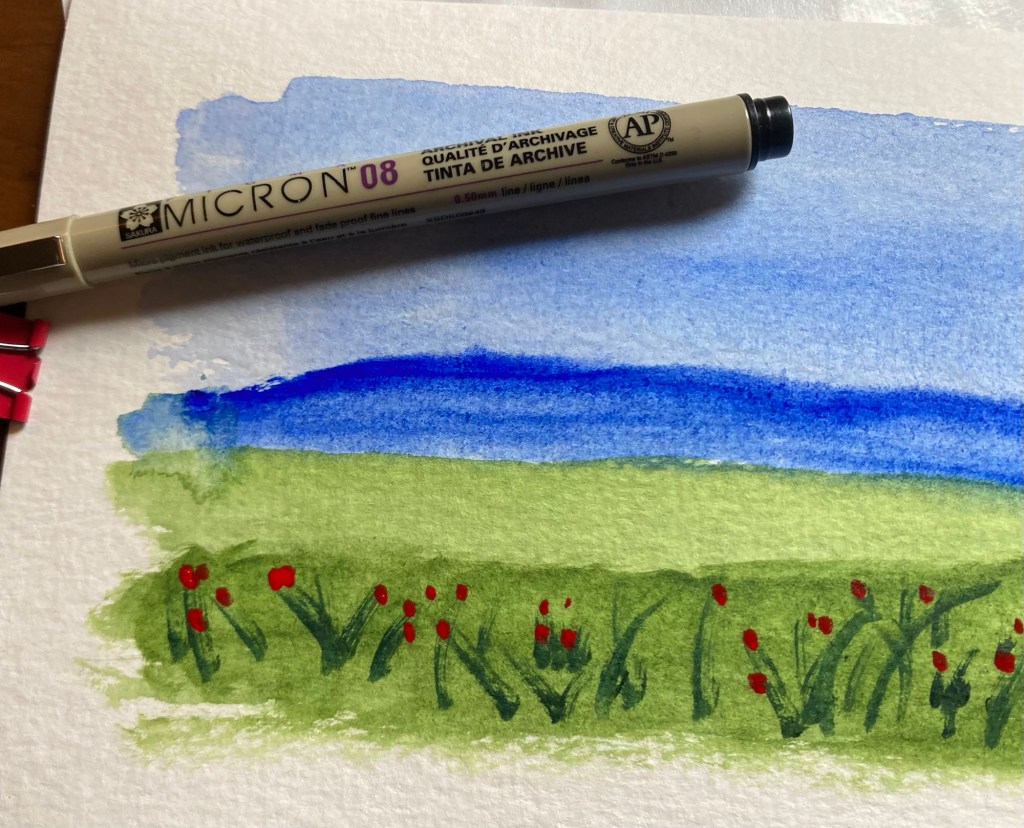
Then add some needed details. Using the darkest of the green and just the tip of your brush suggest a few plants growing, each one is just a swoosh of the brush, with a pretty light pressure, moving from the bottom up, the direction plants grow. Better to have too few than too many.
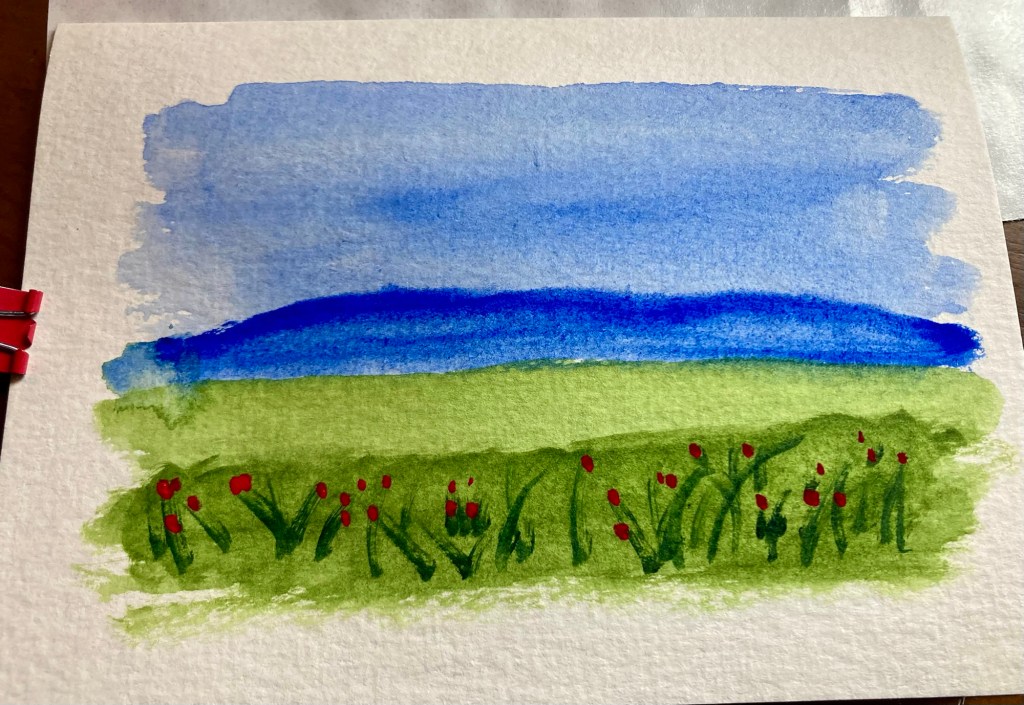
Find the brightest red you have and put a few random “flowers” around the plants you just painted. See how the details of the flowers makes the hills recede into the distance?
A Micron pen, 08, works well for this next part but you could use a black medium ball point if that was all you had. For this part the paint must be completely dry, probably 10-15 minutes.
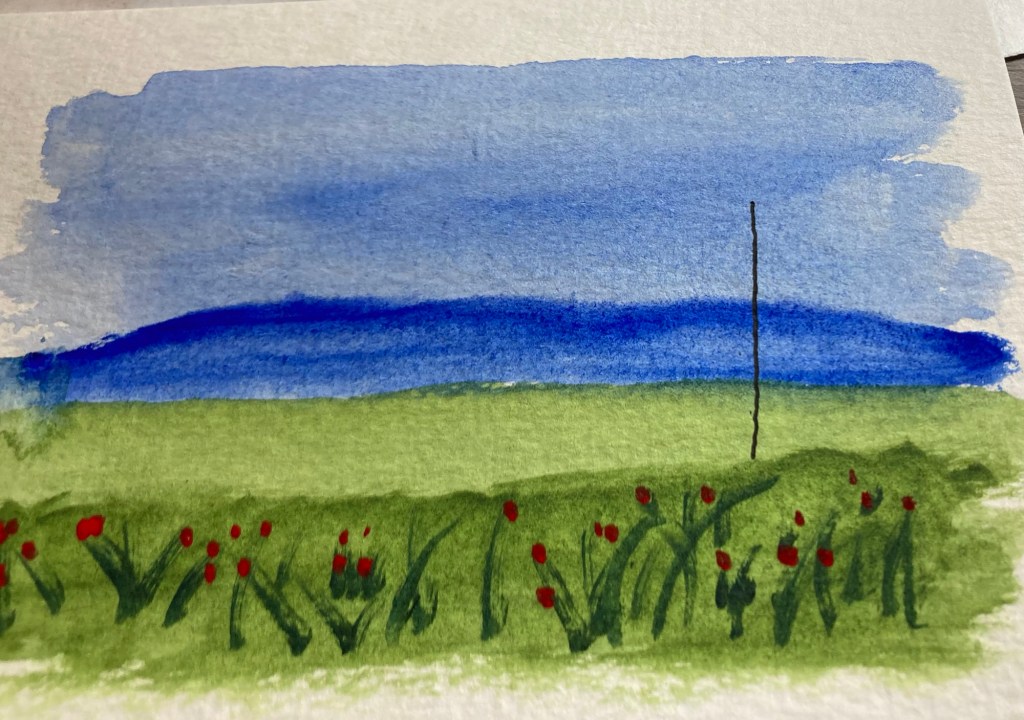
About ⅓ of the way from the right edge draw the trunk of a tree, just a straight line that starts at the upper edge of your “hedge” which will make it look like it is growing behind the hedge. Make the trunk go up above the distant mountains.
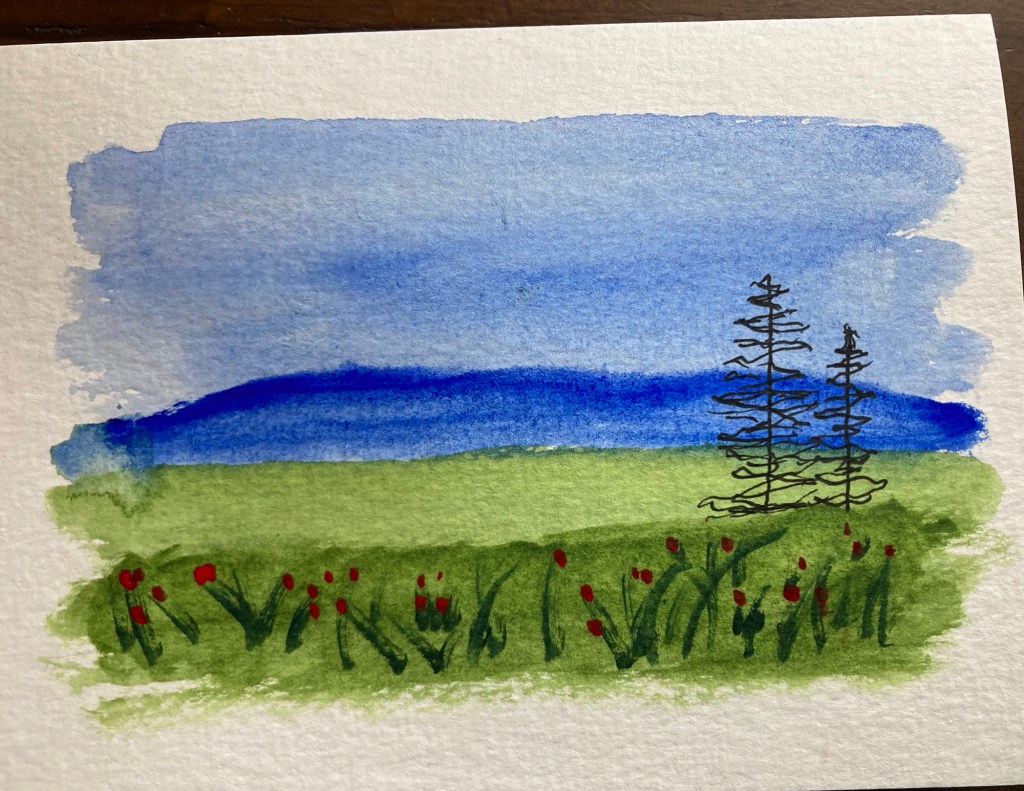
Next add some tree-shape lines, not a lot of detail just zig-zags that indicate the tall triangular shape of a fir tree. If you want to you can practice trees on scrap paper first, after you do a few they get quite easy. Then I added a second tree.

With that you have just completed an easy landscape greeting card. Be sure to put your initials on the corner, artists should sign their work.
I hope you will give it a try, soon you will find variations that you like, experiment with colors. Let me know if you try it, and if you have any problems send me a message and I will try to help.
This would of course work for making your own custom postcards, blank stock is easily available.

That’s really lovely. Simple and effective.
LikeLike